Handy multi-tool add-on for Meteor Client, packed with utilities for everyday gameplay.


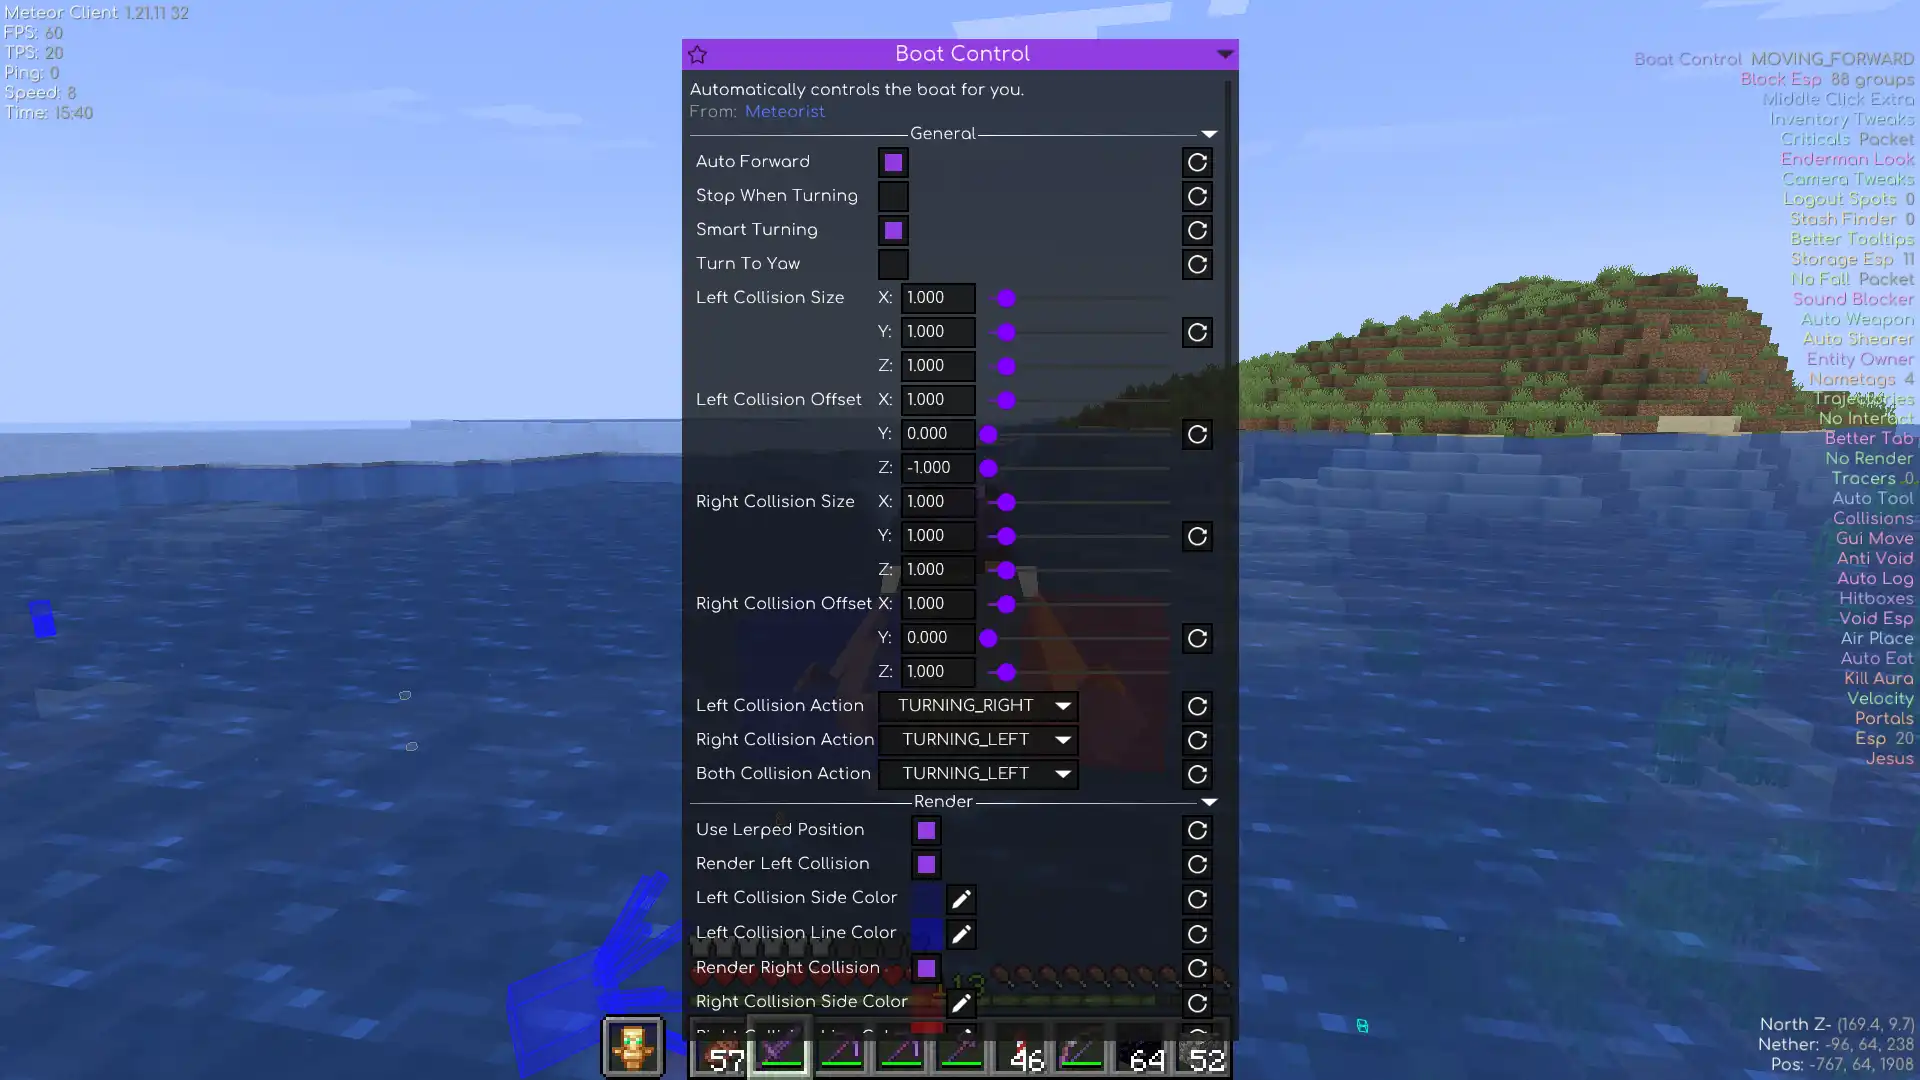
Automate gameplay actions like trading with villagers, crafting, sleeping, interacting with doors, using mud bottles, and controlling boats.
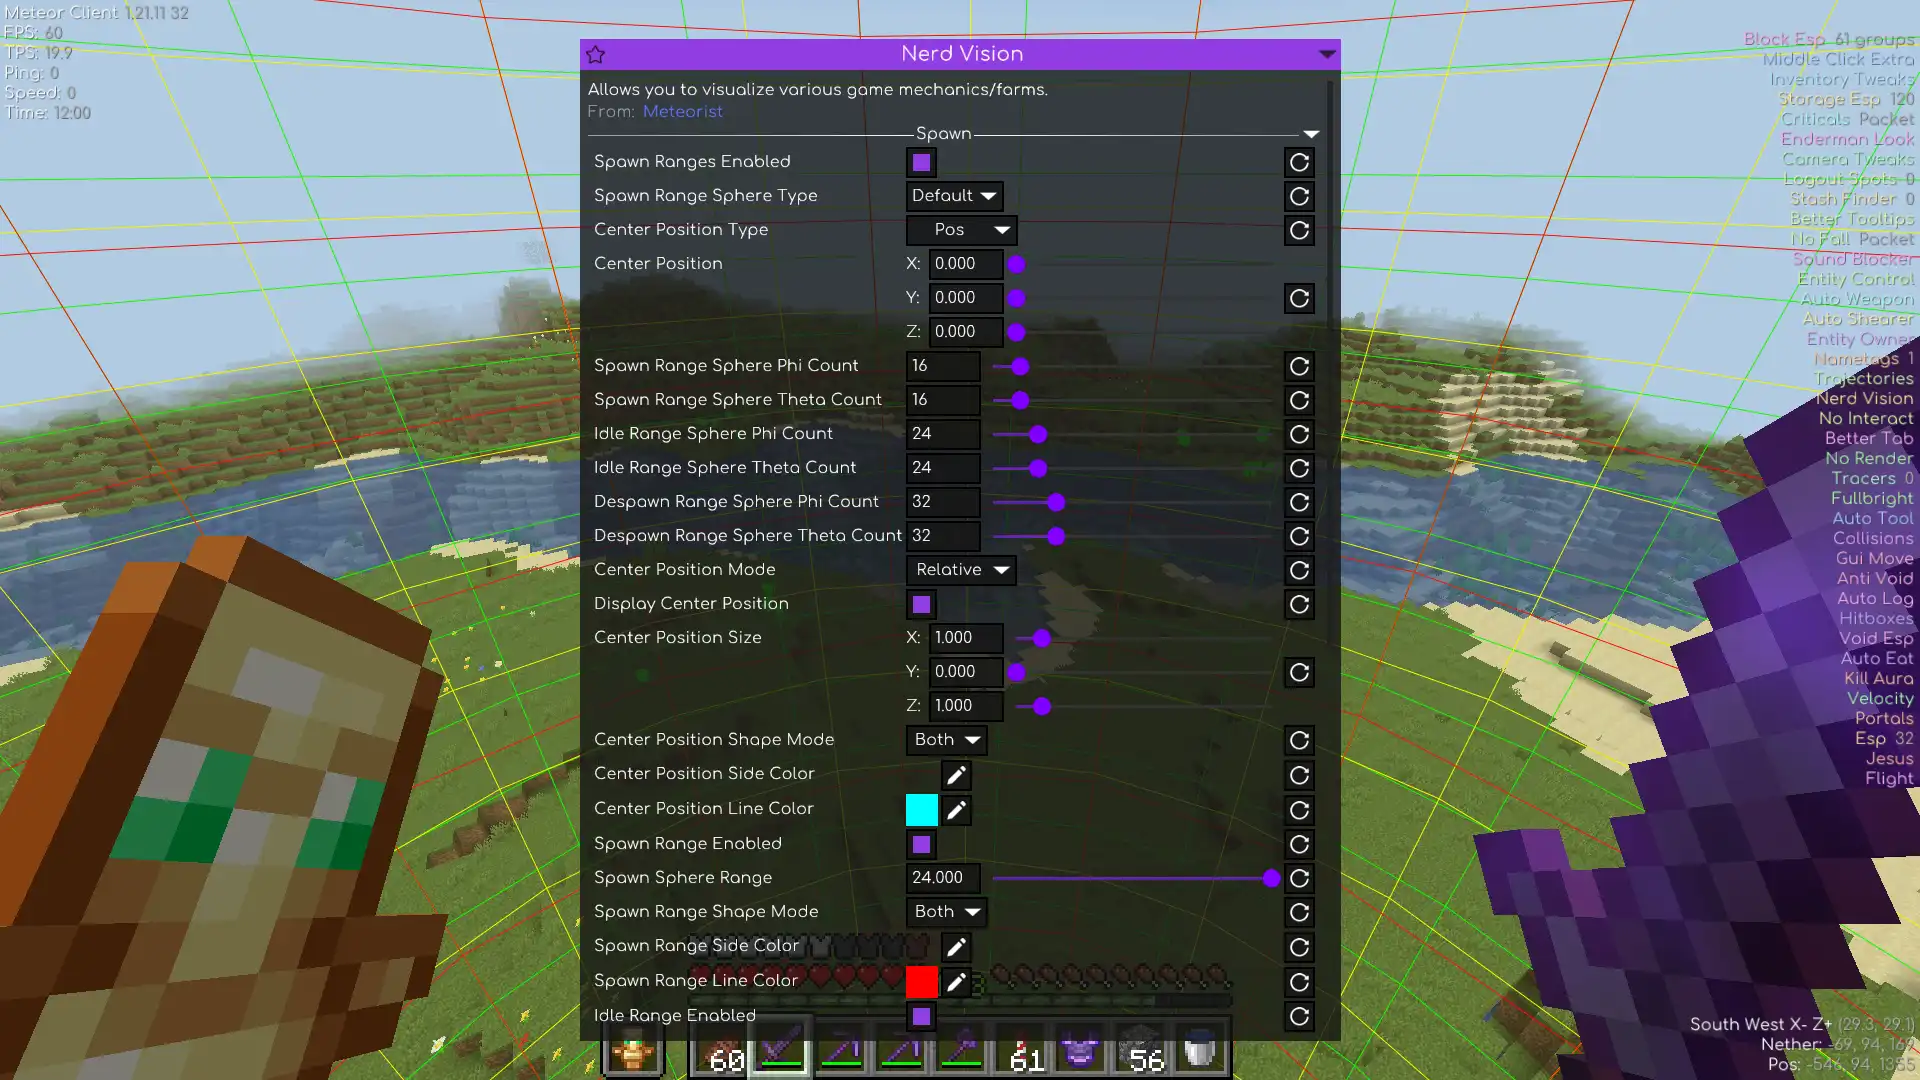
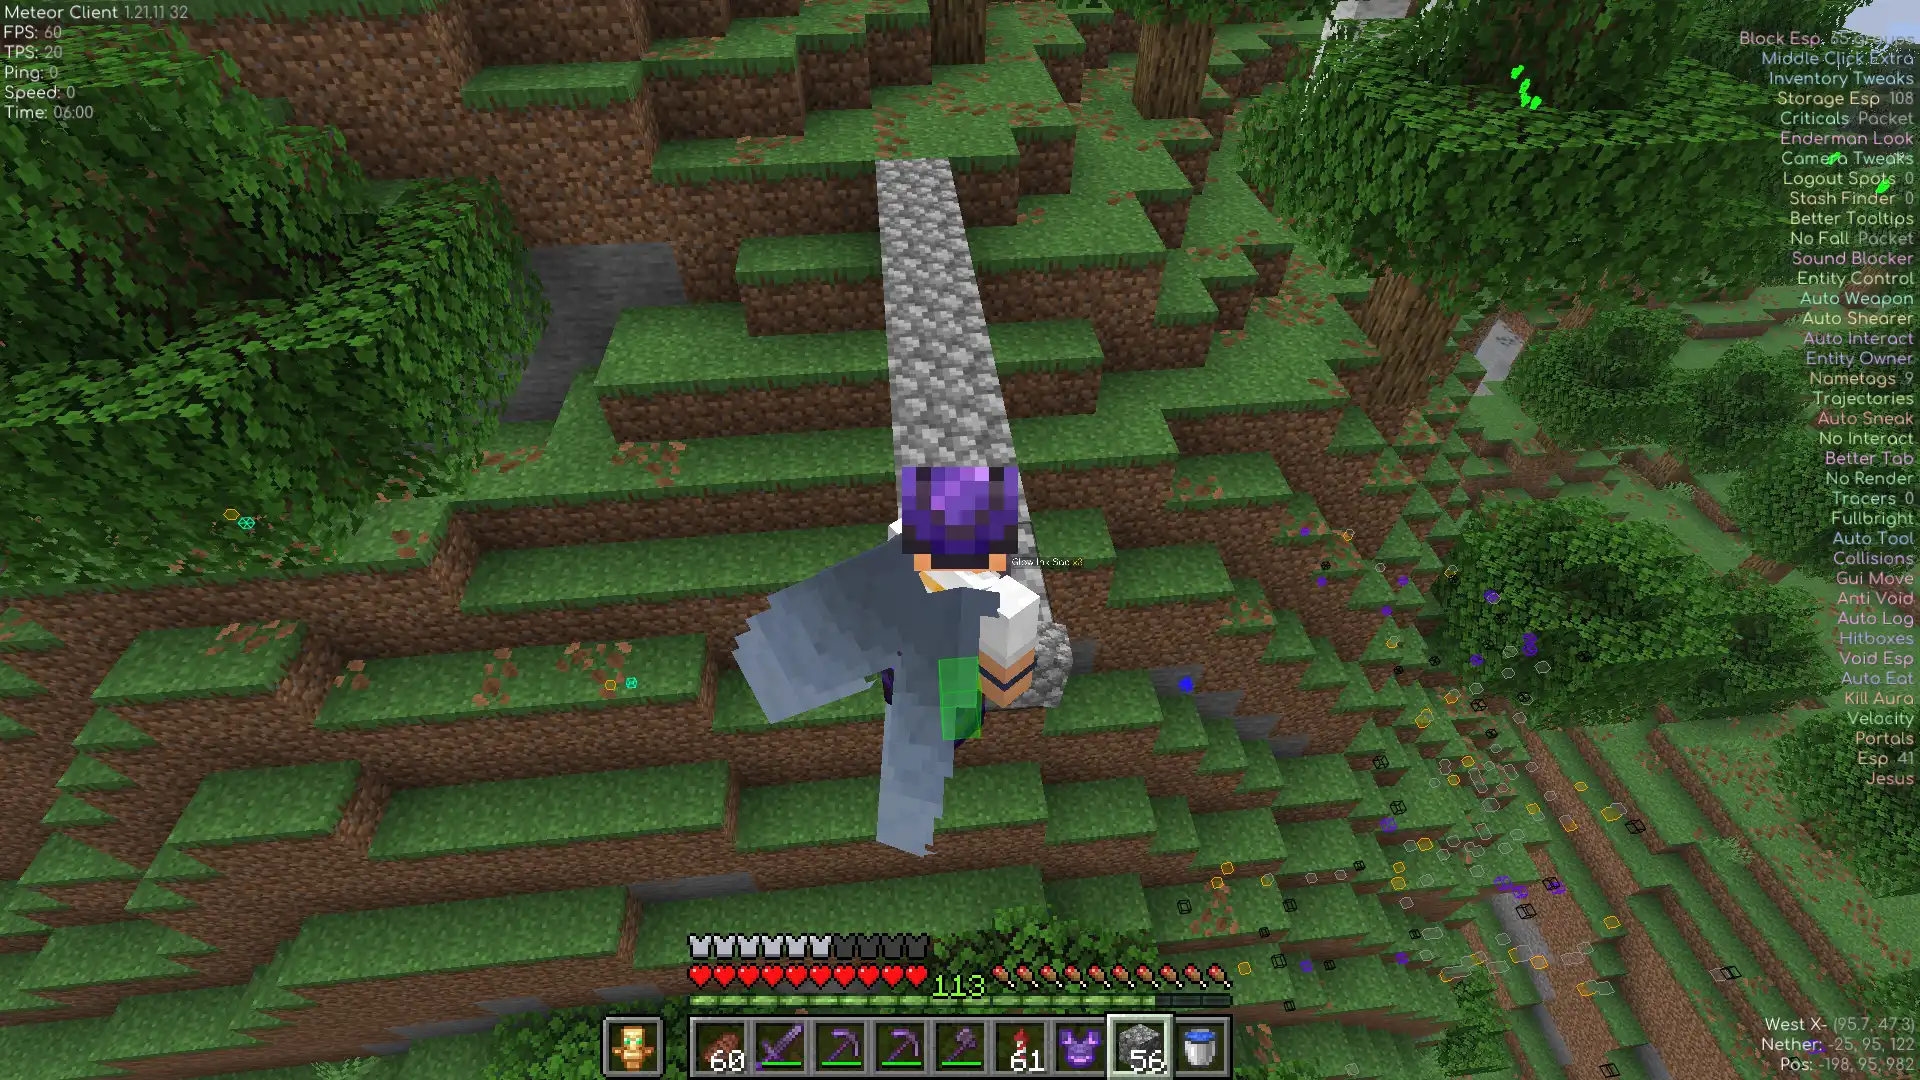
Visualize game mechanics with Nerd Vision: see mob spawn ranges, turtle egg zones, spawner areas, and more.
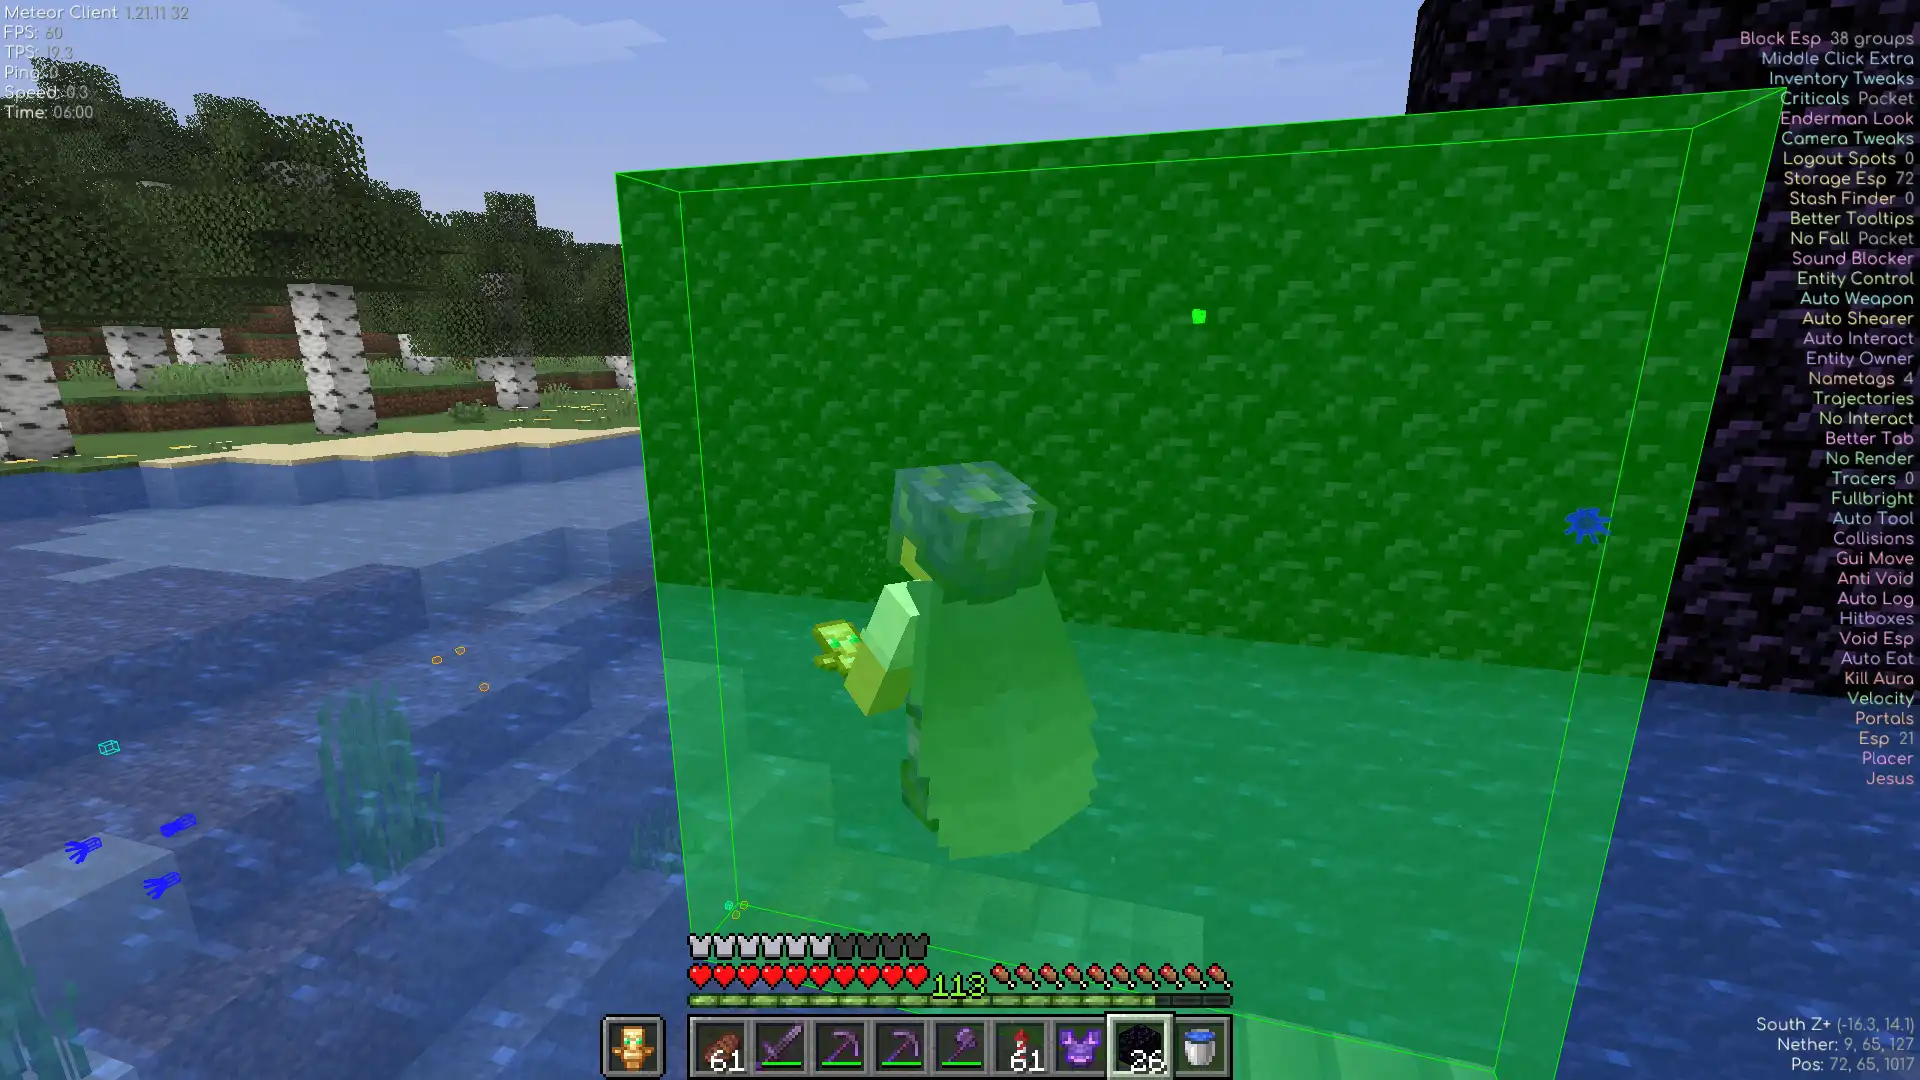
Dominate PvP with Z Aimbot, Z Kill Aura, Z Auto Totem, and smart targeting that respects your aim direction.
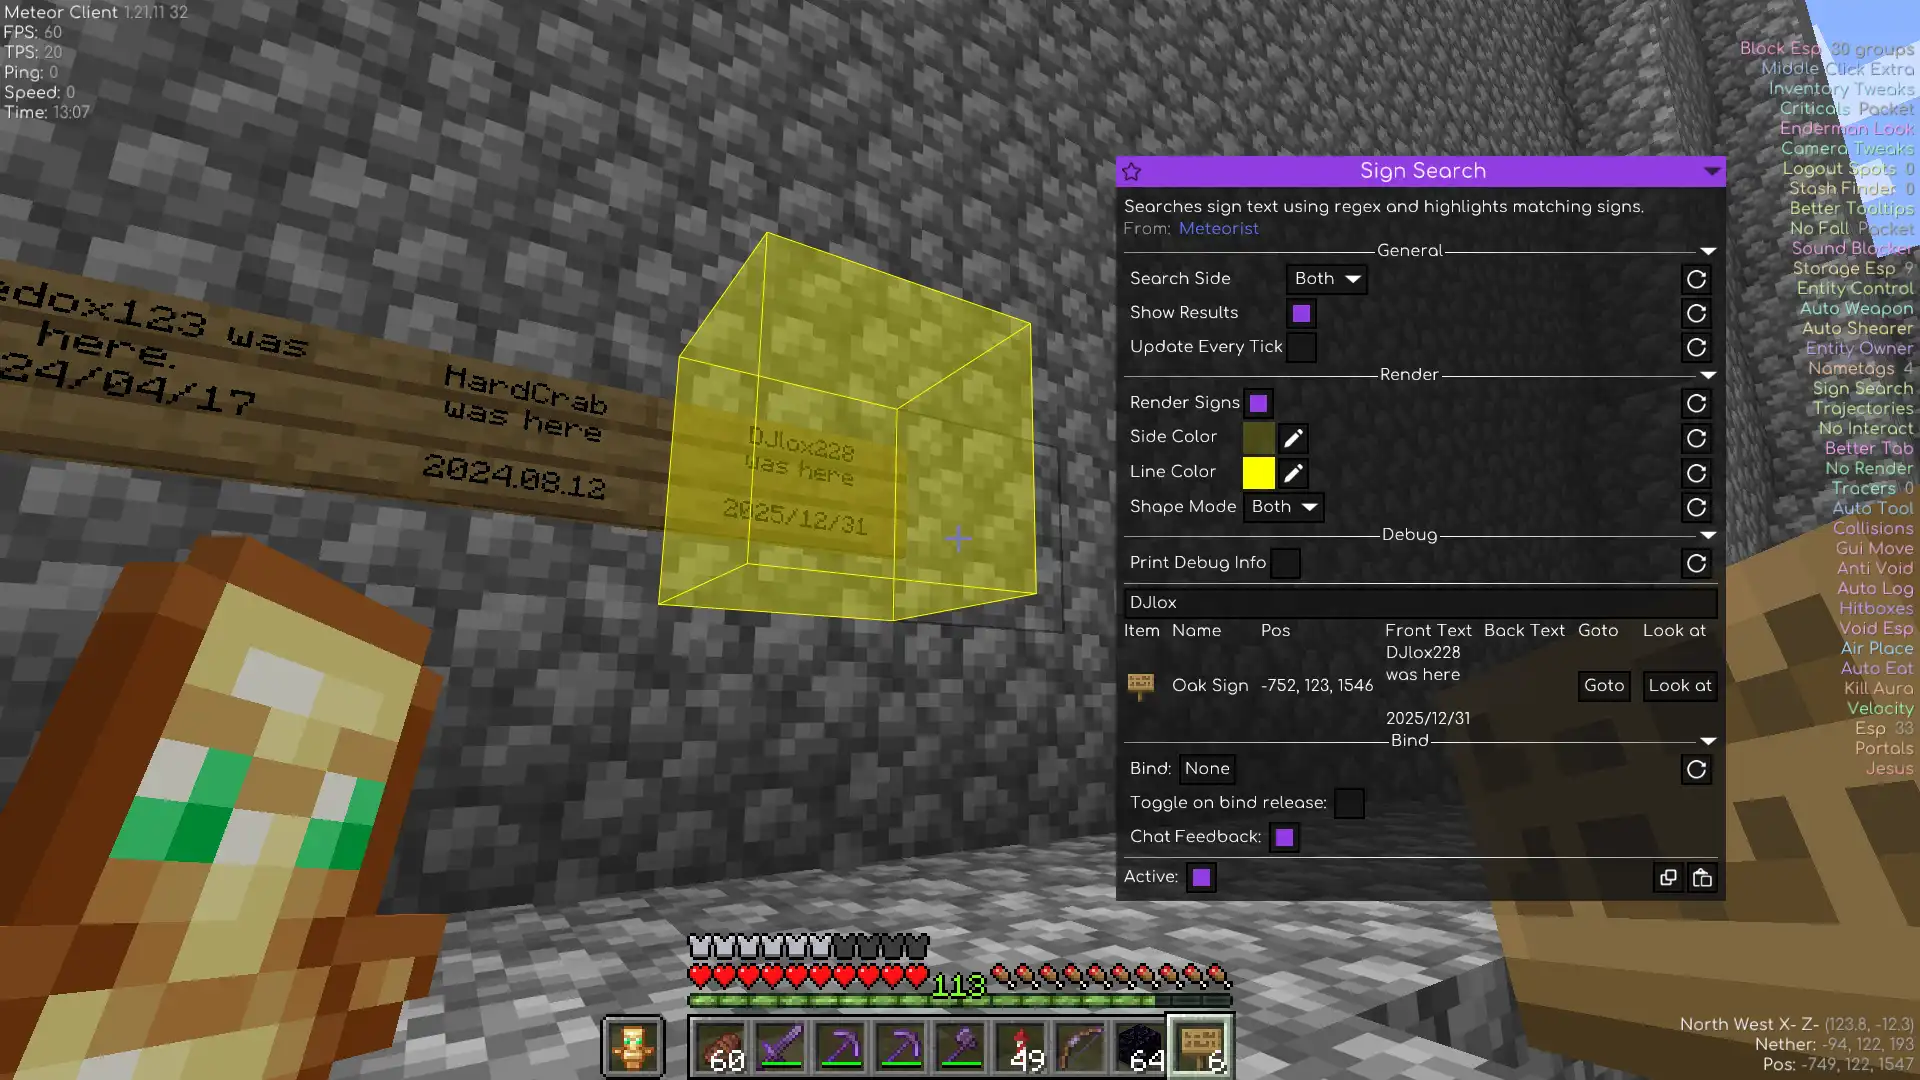
Essential tools like auto login, item sucker, sign search, disconnect alerts, double-door opener, and slot click automation.
Automatically heal, feed, repair gear, and sneak at block edges - keeping you safe and efficient without manual input.
Run complex command sequences with the Instructions module and run custom scripts via Minescript Integration.
Hi! I'm Zgoly, the developer behind Meteorist.
Meteorist is an open-source add-on for Meteor Client, designed to enhance your Minecraft experience with a collection of utilities and automation tools. I built this project to help players on advanced anarchy servers and beyond enjoy a smoother, more efficient gameplay.
The project is licensed under GPL-3.0 and continues to grow thanks to community feedback and support. Special thanks to all the contributors who help make Meteorist better with their code, ideas, and bug reports.
All reviews were handpicked from this Discord channel. Feel free to check the original messages to verify their authenticity.
If you find Meteorist useful and want to support its development, consider making a donation. Your support helps keep the project alive and allows me to continue adding new features and improvements.
Every contribution, no matter how small, is greatly appreciated!

A collection of Meteor Client addons automatically scraped from GitHub, making it easy to discover and install new ones.
Visit WebsiteAutomatically breaks and places villagers job blocks until they offer the trades you want.
GitHub RepositoryAddon that adds many additional features and modules for an even more powerful Minecraft experience.
GitHub RepositoryGives Meteor Client a soft, pastel look using the popular Catppuccin color scheme.
GitHub RepositoryStats by shields.io·
Contributors by contrib.rocks·
Icons by Material Symbols & Simple Icons·
Hosted on Cloudflare Pages
Your download should begin shortly. If it doesn’t start automatically, click here.
To install Meteorist, follow these steps:
.minecraft/mods folder.For activating extended features, consider installing these mods:
